打通SwitUI任督二脉

序言
开年的第一篇文章,今天分享的是SwiftUI,SwiftUI出来好几年,之前一直没学习,所以现在才开始;如果大家还留在 iOS 开发,这们语言也是一个趋势; 目前待业中.... 不得不说已逝的2023年,大家开始都抱着一解封,经济都会向上转好,可是现实不是我们想象那样;目前我也在学习 SwiftUI,并且努力找工作中....;至于 2024 年经济如何,咱们作为老百姓在大环境和全球经济影响下;坦然面对,提升自己。 这里不得不说国人坚韧不拔的精神。“卷” -- 努力吧Coding人
SwiftUI体验
Xcode创建项目之后出现工程默认创建的UI界面;如下
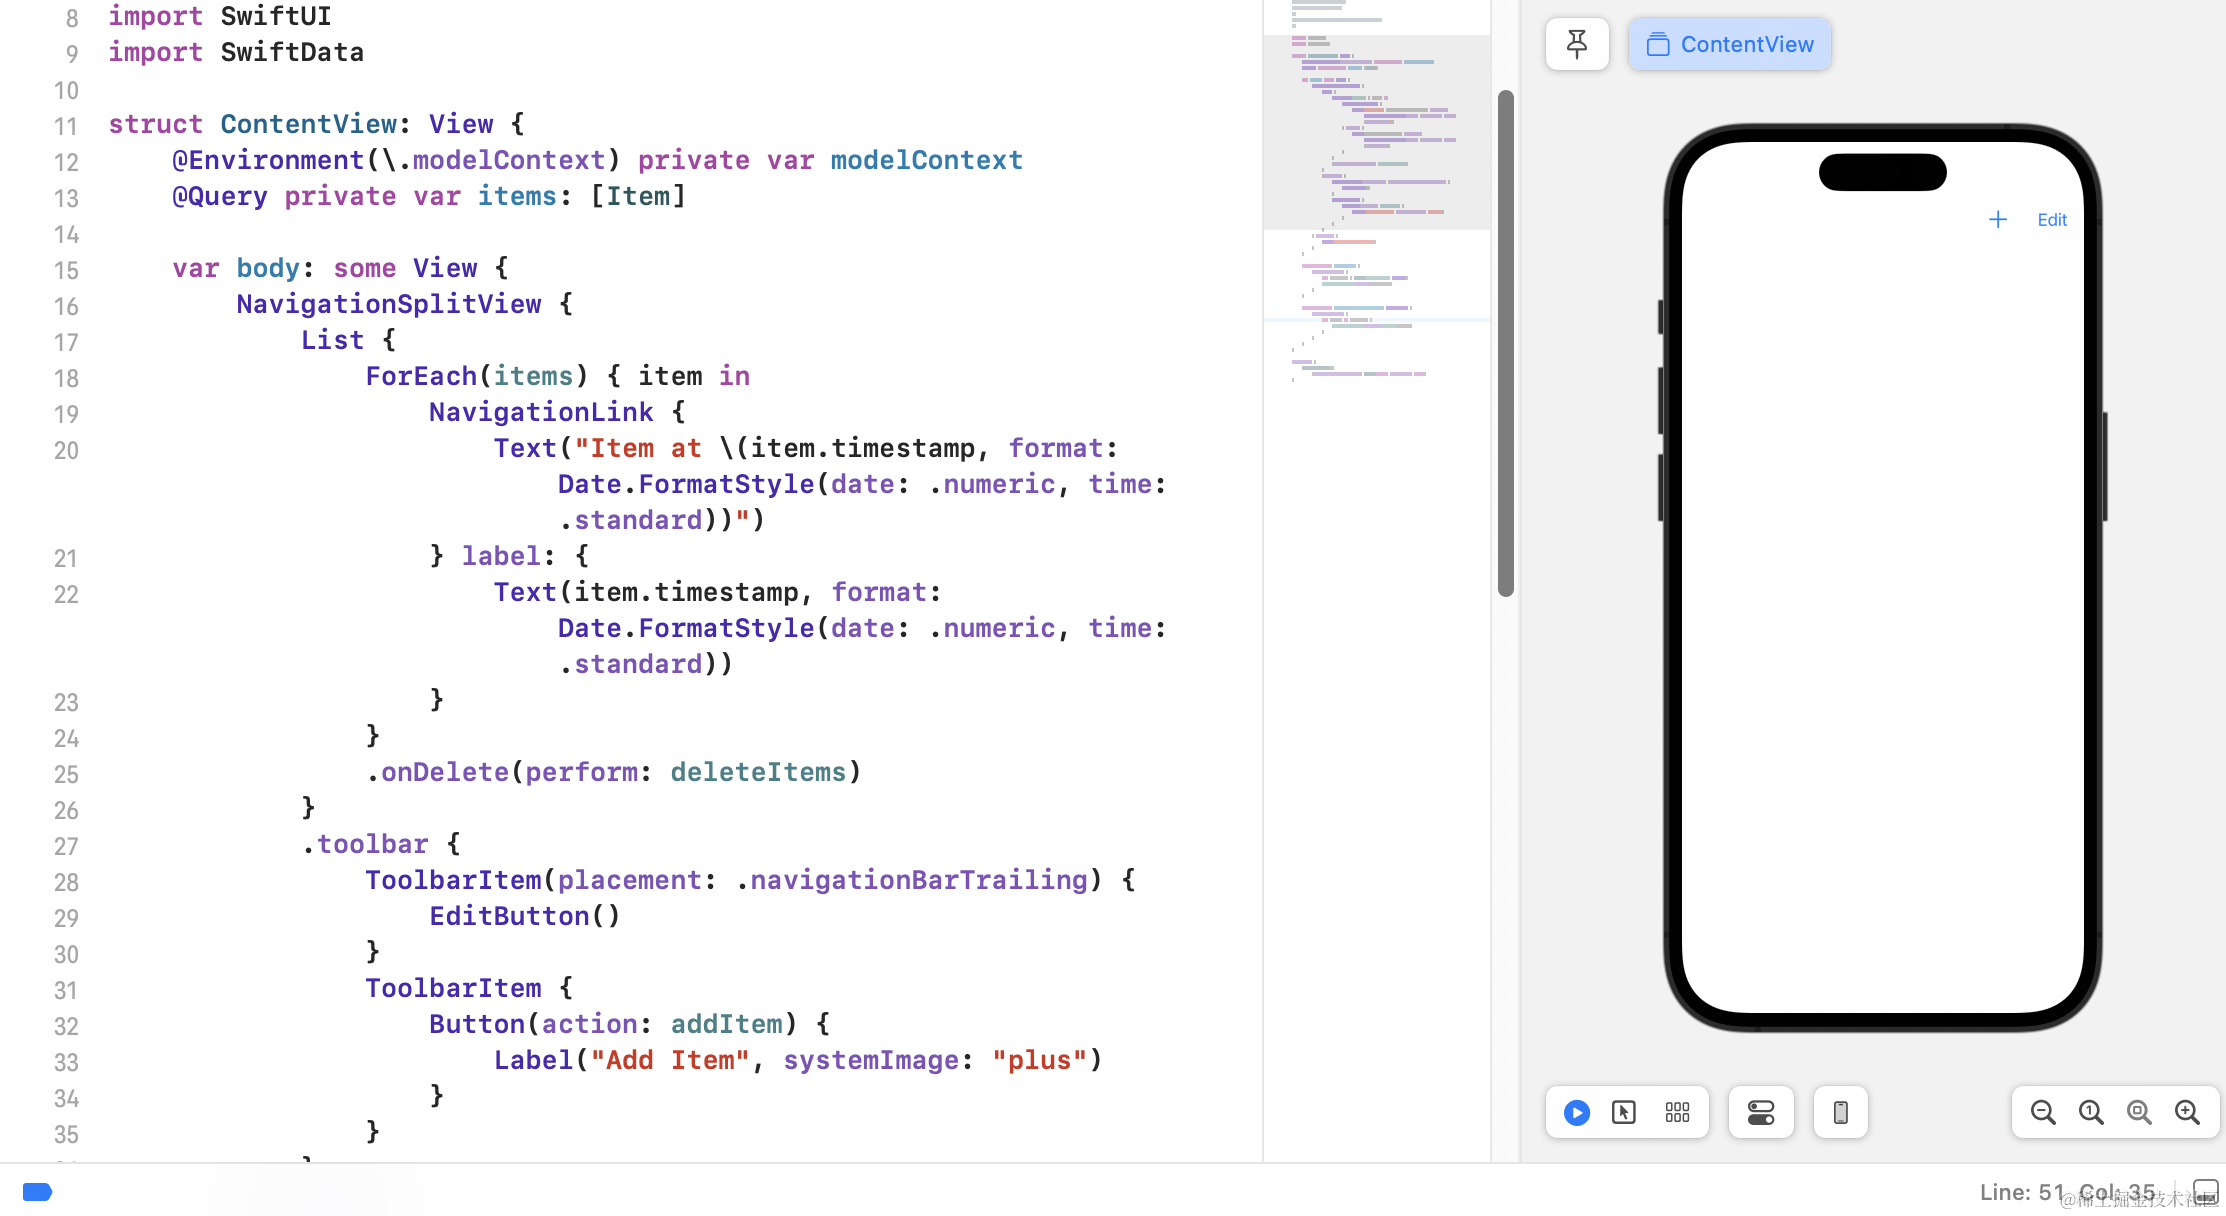
一开始心里对自己说:"SwiftUI作为iOS开发新的UI体系,为啥初创的项目这么多代码,给初学者看到,一种压迫感,心想这语法好复杂,不想学了";不管你是不是这样心里,我刚开始看见,这么一坨代码,没什么心思,于是索性删掉;按自己能理解学习的方式来操作;于是做了简化:
import SwiftUI
import SwiftData

struct ContentView: View {

    var body: some View {
        Text("hello,word")
    }
}

#Preview {
    ContentView()
        .modelContainer(for: Item.self, inMemory: true)
}
关键字 some
关键字some啥玩意儿,完全陌生;先看看View;点击进入源码结构查看:
@available(iOS 13.0, macOS 10.15, tvOS 13.0, watchOS 6.0, *)
public protocol View {

    /// The type of view representing the body of this view.
    ///
    /// When you create a custom view, Swift infers this type from your
    /// implementation of the required ``View/body-swift.property`` property.
    associatedtype Body : View

    @ViewBuilder @MainActor var body: Self.Body { get }
}
一堆英文注解估计大家不喜欢看,我就没贴出来了;简单来说:
View 是一个泛型协议,它定义了所有视图类型需要遵循的接口,通过some修饰;表示 "我返回一个满足View 协议的某种类型"。some关键字告诉 Swift,虽然我们知道body必须返回一个View,但我们不确定具体是哪种 View(例如,Text, Image, VStack 等)。
协议里有一个associatedtype,body,其实这种协议就是当作约束形式使用;只要遵守这种协议编译器每次闭包中返回的一定是一个确定,遵守View协议的类型。
那么苹果工程师利用Swift5.1 Opaque return types特性,开发者提供了一个灵活的开发模式,抹掉了具体的类型,不需要修改公共API来确定每次闭包的返回类型,也降低了代码书写难度。(学学苹果那些大神思想,不错)
在来看看Preview
struct ContentView_Previews:PreviewProvider{
    static var previews: some View{
        ContentView()

    }
}
PreviewProvider就一个协议类,它的额作用提供swiftUI不用运行,就能直接看到UI渲染变化,我觉得这个挺好,减少开发人员对UI运行测试次数和时间,而previews就是一个静态属性,返回一个 View 对象,用于在预览面板中展示。
@State属性包装器
@State属性包装器解决UI界面上,数据同步以及及时刷新的功能。一般来说数据更新完,界面 UI 同时更新。在 SwiftUI里面,视图中声明的任何状态、内容和布局,源头一旦发生改变,会自动更新视图,因此,只需要一次布局,这个时候出现了@State,它来解决与UI之间数据状态问题。
它的概念就是:@State 是一个属性包装器(property wrapper),用于声明状态属性(state property)
当状态属性发生变化时,SwiftUI 会自动更新视图以反映最新的状态。
属性的值被存储在特殊的内存区域中,这个区域与 View struct 是隔离的 至于被它修饰的属性内存存储与分布现在无从得知,还没学习到那么深入,这事儿慢慢来,不是一天两天的,先上个代码看看它怎么使用的:
import SwiftUI

struct StateBootcamp: View {

    @State var bgkColor:Color = Color.blue
    @State var cut:Int = 0

    var body: some View {

        ZStack{

            bgkColor
                .ignoresSafeArea(.all)

            VStack(spacing: 20){

                Text("Hello, World!")
                    .font(.title)

                Text("count:\(cut)")
                    .font(.largeTitle)

                HStack(spacing: 20){
                    Button("Button01") {
                        cut+=1
                        bgkColor = Color.red
                    }
                    .font(.title)
                    .foregroundColor(.white)

                    Button("Button02") {
                        cut-=1
                        bgkColor = .purple
                    }
                    .font(.title)
                    .foregroundColor(.white)
                }
                Button("默认"){
                    cut=0
                    bgkColor = .blue
                }
                .font(.title)
                .foregroundColor(.white)
            }
        }
    }
}

#Preview {
    StateBootcamp()
}
其实一看代码,就一幕了然,知道它的使用与作用;如果你写过swift代码,这些东西很好理解,但是只会OC,那么我建议你学习下swift;在来看swiftUI语法糖才更好理解。
在看看源码:
@available(iOS 13.0, macOS 10.15, tvOS 13.0, watchOS 6.0, *)
@frozen @propertyWrapper public struct State<Value> : DynamicProperty {
    public init(wrappedValue value: Value)
    public init(initialValue value: Value)
    public var wrappedValue: Value { get nonmutating set }
    public var projectedValue: Binding<Value> { get }
}


@available(iOS 13.0, macOS 10.15, tvOS 13.0, watchOS 6.0, *)
extension State where Value : ExpressibleByNilLiteral {

    /// Creates a state property without an initial value.
    ///
    /// This initializer behaves like the ``init(wrappedValue:)`` initializer
    /// with an input of `nil`. See that initializer for more information.
    @inlinable public init()
}
可以看到State是一个结构体,由@propertyWrapper包装的。@propertyWrapper是属性包装器。property wrapper 做的事情大体如下:
-   为底层的存储变量`State<Int>`自动提供一组 **getter** 和 **setter** 方法,结构体内保存了`Int`的具体数值;

-   在 body 首次求值前,将`State<Int>`关联到当前`View`上,为它在堆中对应当前`View`分配一个存储位置。

-   为`@State`修饰的变量设置观察,当值改变时,触发新一次的`body`求值,并刷新 UI。
SwiftUI基础组件
Spacer垫片:先贴贴代码
import SwiftUI

struct SpacerBootcampDemo: View {
    var body: some View {
        Text("Spacer UP")
            .font(.largeTitle)

        Spacer()
            .frame(width: 37)
            .background(.blue)

        Text("Spacer Down")
            .font(.largeTitle)

    }
}

#Preview {
    SpacerBootcampDemo()
}
在看看效果图:

总结:Spacer 是一个灵活的空间视图,它的主要作用是在布局中自动调整自身的高度和宽度,以填满特定的空间;简单来说,它就是一个垫片,调整自身视图的高度,如果它周围有其他视图,也会受到Spacer影响。
ScrollView 如果你之前使用UIkit框架开发,在用SwiftUI,一下有点不适应,代码和之前的 UIkit 开发模式不太一样,但是大大缩短UI编写时间;先上代码:
import SwiftUI

struct ScollViewBootcamp: View {

    var body: some View {

        ScrollView{
            LazyVStack{
                ForEach(0..<20){
                    (idx) in

                    VStack {

                        Text("Hello, World!")
                            .font(.title)
                            .foregroundStyle(.white)
                            .frame(width: UIScreen.main.bounds.width-20,height: 350)
                            .background(Color.init(cgColor: CGColor(red: CGFloat.random(in: 0..<215)/255.0, green: CGFloat.random(in: 0..<235)/255.0, blue: CGFloat.random(in: 0...247)/255.0, alpha: 0.9)))
                            .clipShape(RoundedRectangle(cornerRadius: 10))

                        Rectangle()
                            .fill(Color.init(cgColor: CGColor(red: CGFloat.random(in: 0...187)/255.0, green: CGFloat.random(in: 0..<210)/255.0, blue: CGFloat.random(in: 0...237)/255.0, alpha: 0.9)))
                            .frame(width: UIScreen.main.bounds.width-20,height: 530)
                            .clipShape(RoundedRectangle(cornerRadius: 10))


                        ScrollView(.horizontal,showsIndicators: false,content: {
                            LazyHStack{
                                ForEach(0..<10){
                                    idx in
                                    Rectangle()
                                        .fill(Color.init(cgColor: CGColor(red: CGFloat.random(in: 0...167)/255.0, green: CGFloat.random(in: 0...131)/255.0, blue: CGFloat.random(in: 0...89)/255.0, alpha: 0.9)))
                                        .frame(width: 200, height: 300)
                                        .clipShape(RoundedRectangle(cornerRadius: 10))

                                }
                            }
                        })
                        .padding(.leading,10)
                        .padding(.trailing,10)


                    }
                }
            }
            .frame(width:UIScreen.main.bounds.width)

        }
    }
}


#Preview {
    ScollViewBootcamp()
}
上图看看效果:

简单几句就能实现**ScrollView**的滑动效果;非常方便。
LazyVGrid 网格布局,先上代码:
import SwiftUI

struct GridViewBootcamp: View {

    let columns=[
        GridItem(.flexible(),spacing: 6   ,alignment: .center),
        GridItem(.flexible(),spacing: 6    ,alignment: .center),
        GridItem(.flexible(),spacing: 6  ,alignment: .center),
    ]

    var body: some View {

        ScrollView{
            LazyVGrid(columns: columns,
                      alignment: .center,
                      spacing: 6,
                      pinnedViews: [.sectionHeaders],content:
                        {
                Section(content: {}, header: {
                    Text("section header 一")
                        .font(.largeTitle)
                        .foregroundStyle(.blue)
                        .frame(width: UIScreen.main.bounds.width,height: 100,alignment: .leading)
                })

                ForEach(0..<41){
                    index in
                    Rectangle()
                        .fill(Color.init(cgColor: CGColor(red: CGFloat.random(in: 0..<255)/255.0, green: CGFloat.random(in: 0..<255)/255.0, blue: CGFloat.random(in: 0...255)/255.0, alpha: 0.9)))
                        .frame(height: 50)
                }

                //-------
                Section {

                } header: {
                    Text("section header 二")
                        .font(.largeTitle)
                        .foregroundStyle(.blue)
                        .frame(width: UIScreen.main.bounds.width,alignment: .leading)

                }

                ForEach(0..<41){
                    index in
                    Rectangle()
                        .fill(Color.init(cgColor: CGColor(red: CGFloat.random(in: 0..<255)/255.0, green: CGFloat.random(in: 0..<255)/255.0, blue: CGFloat.random(in: 0...255)/255.0, alpha: 0.9)))
                        .frame(height: 50)
                }

            })
            .padding(.leading,6)
            .padding(.trailing,6)
            .background(.gray)
        }.background(.blue)
    }
}

#Preview {
    GridViewBootcamp()
}
效果图:

总结:LazyVGrid大家看到这个单词有个Lazy懒加载的意思,它的内部加载item简单来说,就是当视图需要时,才会执行item内容渲染功能,展示UI上。也就这点注意。
SafeArea安全区域:
import SwiftUI

struct SafeAreaBootcamp: View {
    var body: some View {
        GeometryReader{
            src in
            Rectangle()
                .fill(.blue)
                .frame(maxWidth: .infinity,
                       maxHeight: .infinity)
        }
    }
}

#Preview {
    SafeAreaBootcamp()
}
效果图:
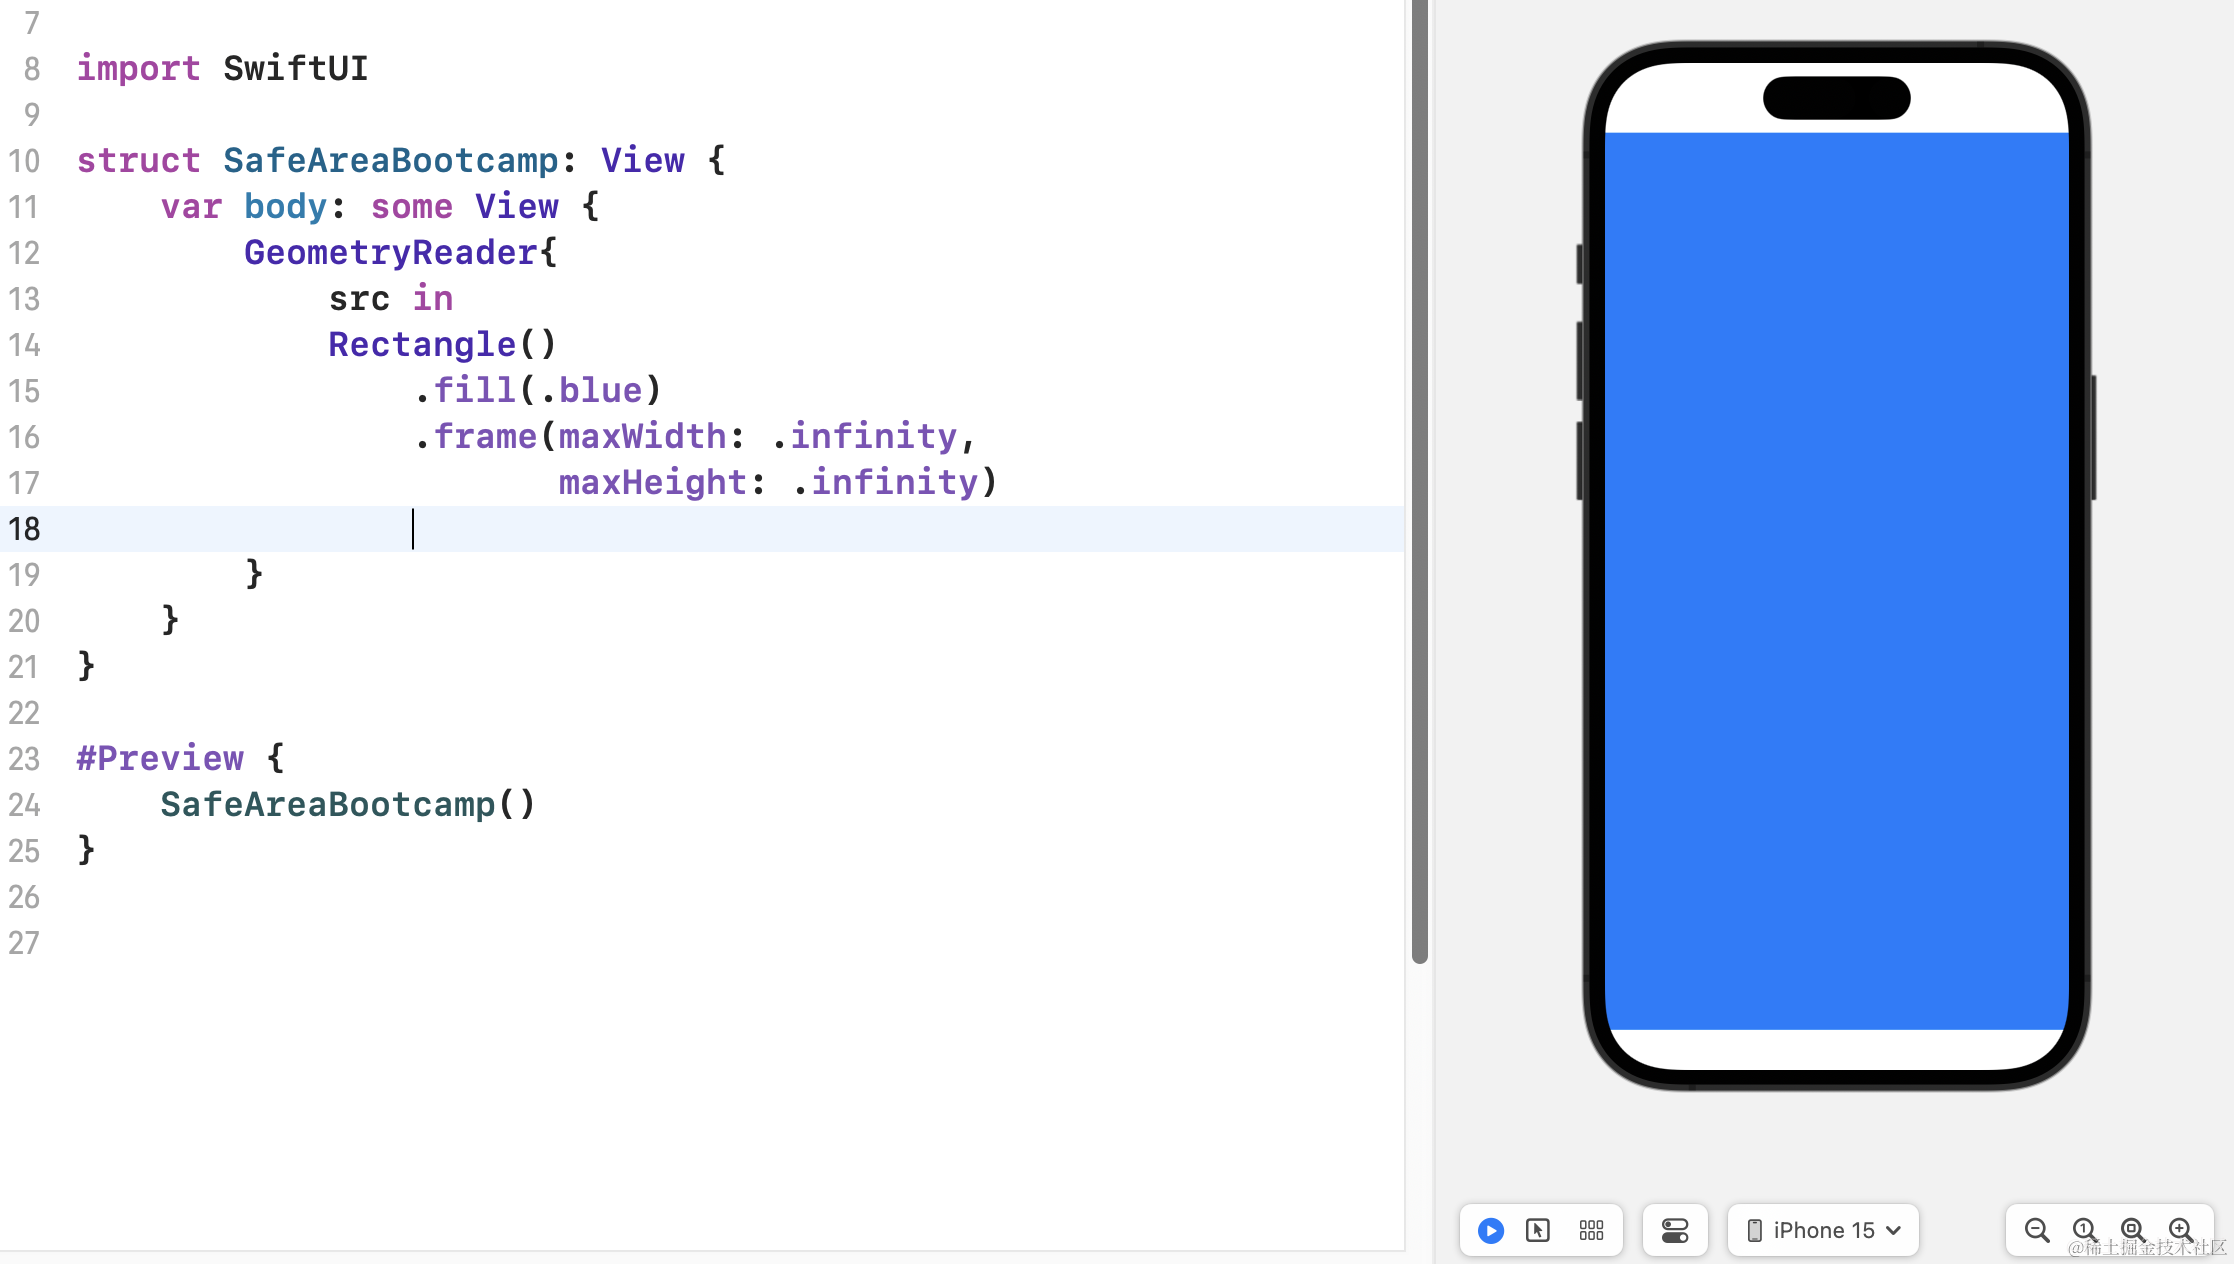
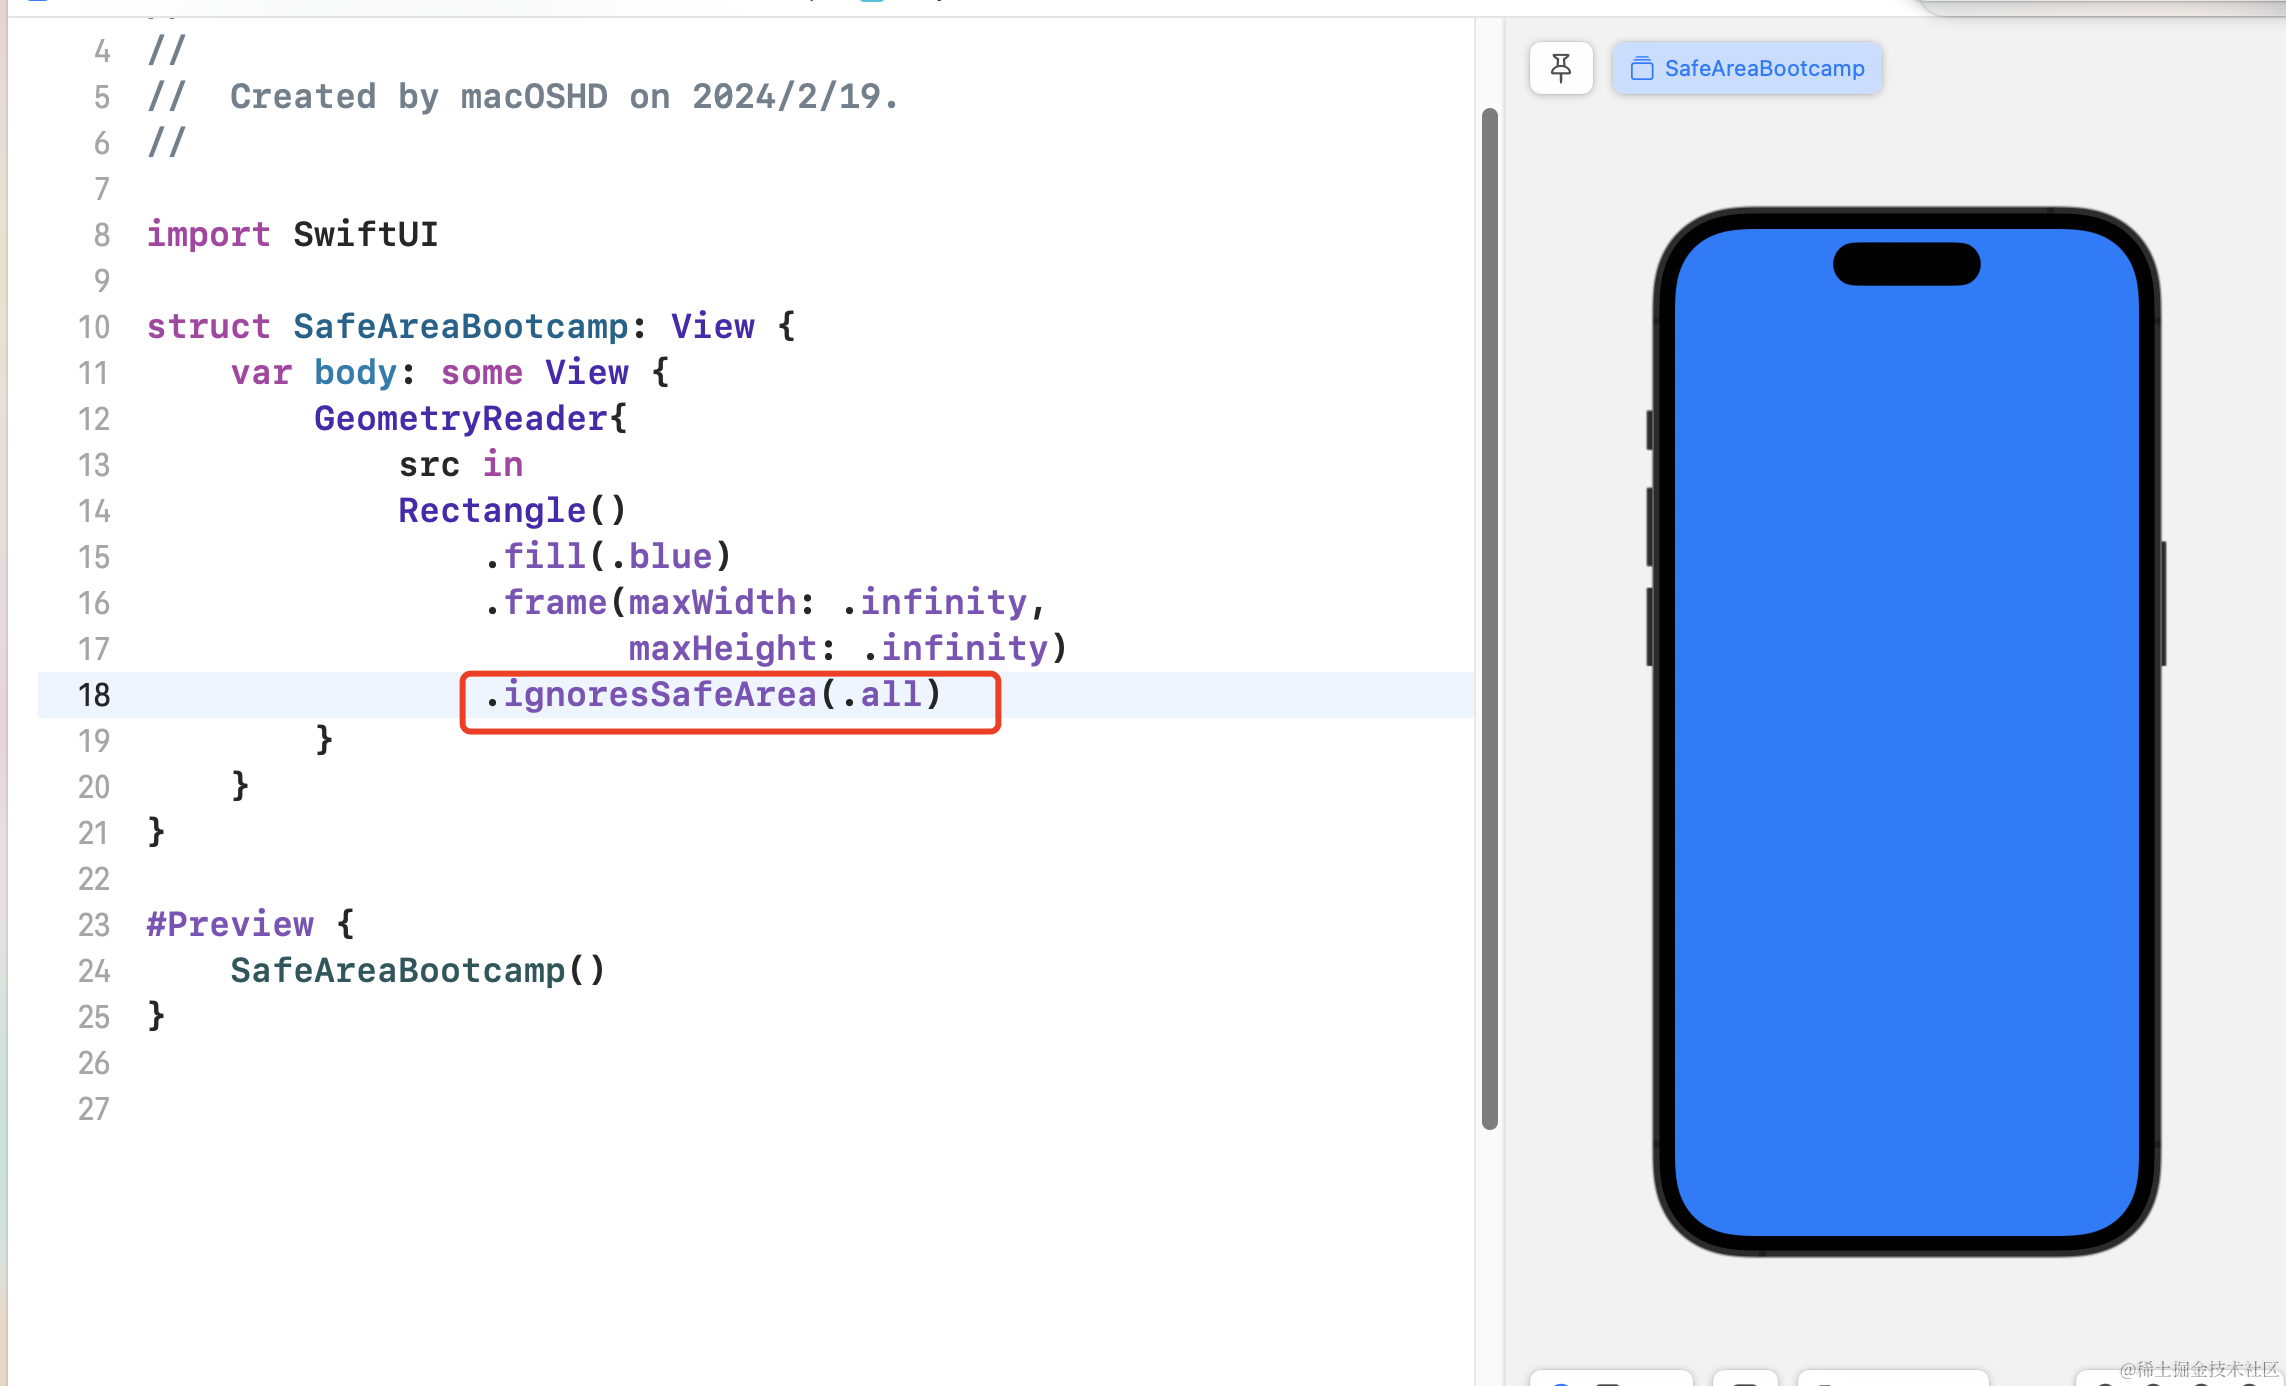
可以看到上下边距存在安全区域的,如果禁用安全区域,使用 ignoresSafeArea(.all) 可以去掉。
代码如下:
最后说说SwiftUI函数表达
上上代码:
import SwiftUI

struct ExtractFunctionsBootcamp: View {

    @State var bgc:Color = .red

    var body: some View {
        normolView
    }

    var normolView : some View {
        setUI()
    }

    func chageColor() -> Void {
        self.bgc = .red
    }

    func setUI()->some View {
        return ZStack{

            bgc
                .ignoresSafeArea(.all)

            VStack(spacing: 20, content: {

                Text("Hello, World!")
                    .font(.largeTitle)

                Button(action: {
                    bgc = .brown
                }, label: {
                    Text("Button")
                        .font(.largeTitle)
                        .foregroundStyle(.white)
                })

                Button {
                    self.chageColor()
                } label: {
                    Image(systemName: "button.horizontal.top.press")
                        .resizable()
                        .foregroundColor(.white)
                        .aspectRatio(contentMode: .fill)
                        .frame(width: 50,height: 50)
                }
            })
        }
    }
}


#Preview {
    ExtractFunctionsBootcamp()
}
其实函数表达跟我们swift语法糖一样;func 命名;这点和swift语法糖没什么区别。
总结(说说我的感想)
优点:
简洁性:Swift,SwiftUI语法简洁,编写代码变得更加容易和快速。
安全性:是一种类型安全的编程语言,可以在编译时检测类型错误,这帮助我们避免许多常见的错误,提高代码的质量和可靠性。
互操作性:它与Objective-C语言无缝互衔接,是的OC与swift代码混编变的更加便捷。
说完优点在说缺点
功能限制:虽然SwiftUI提供了许多常见的UI组件,但与UIKit相比,功能仍然相对有限。在某些复杂的界面需求下,可能需要使用UIKit来实现。
错误提示不明确:有时SwiftUI, SwiftUI的错误提示可能不够明确,导致难以定位问题。
UIkit与SwiftUI缺乏无缝兼容:两者兼容性不够理想,这在业务开发中,你可能才能发现。
目前苹果与市面大量应用也在使用Swift,SwiftUI开发应用,这们语言在应用中占有读也是成倍增长。